Single Sign-On and Custom JWT Authorizer
Overview
The Single Sign-On (SSO) and Custom JWT Authorizer module enables flexible authentication configuration for FormKiQ console and API endpoints. While FormKiQ uses AWS Cognito by default, this Enterprise Add-On Module allows integration with various authentication providers.

Supported Authentication Methods
- Custom JWT providers (e.g., Auth0)
- SAML 2.0 identity providers
- Public providers:
- OpenID Connect providers
- Microsoft Active Directory Federation Services
Active Directory Integration Guide
1. Retrieve Cognito Information
Access User Pool Settings
- Open Amazon Cognito in AWS Console
- Navigate to Settings
- Note the User Pool ID

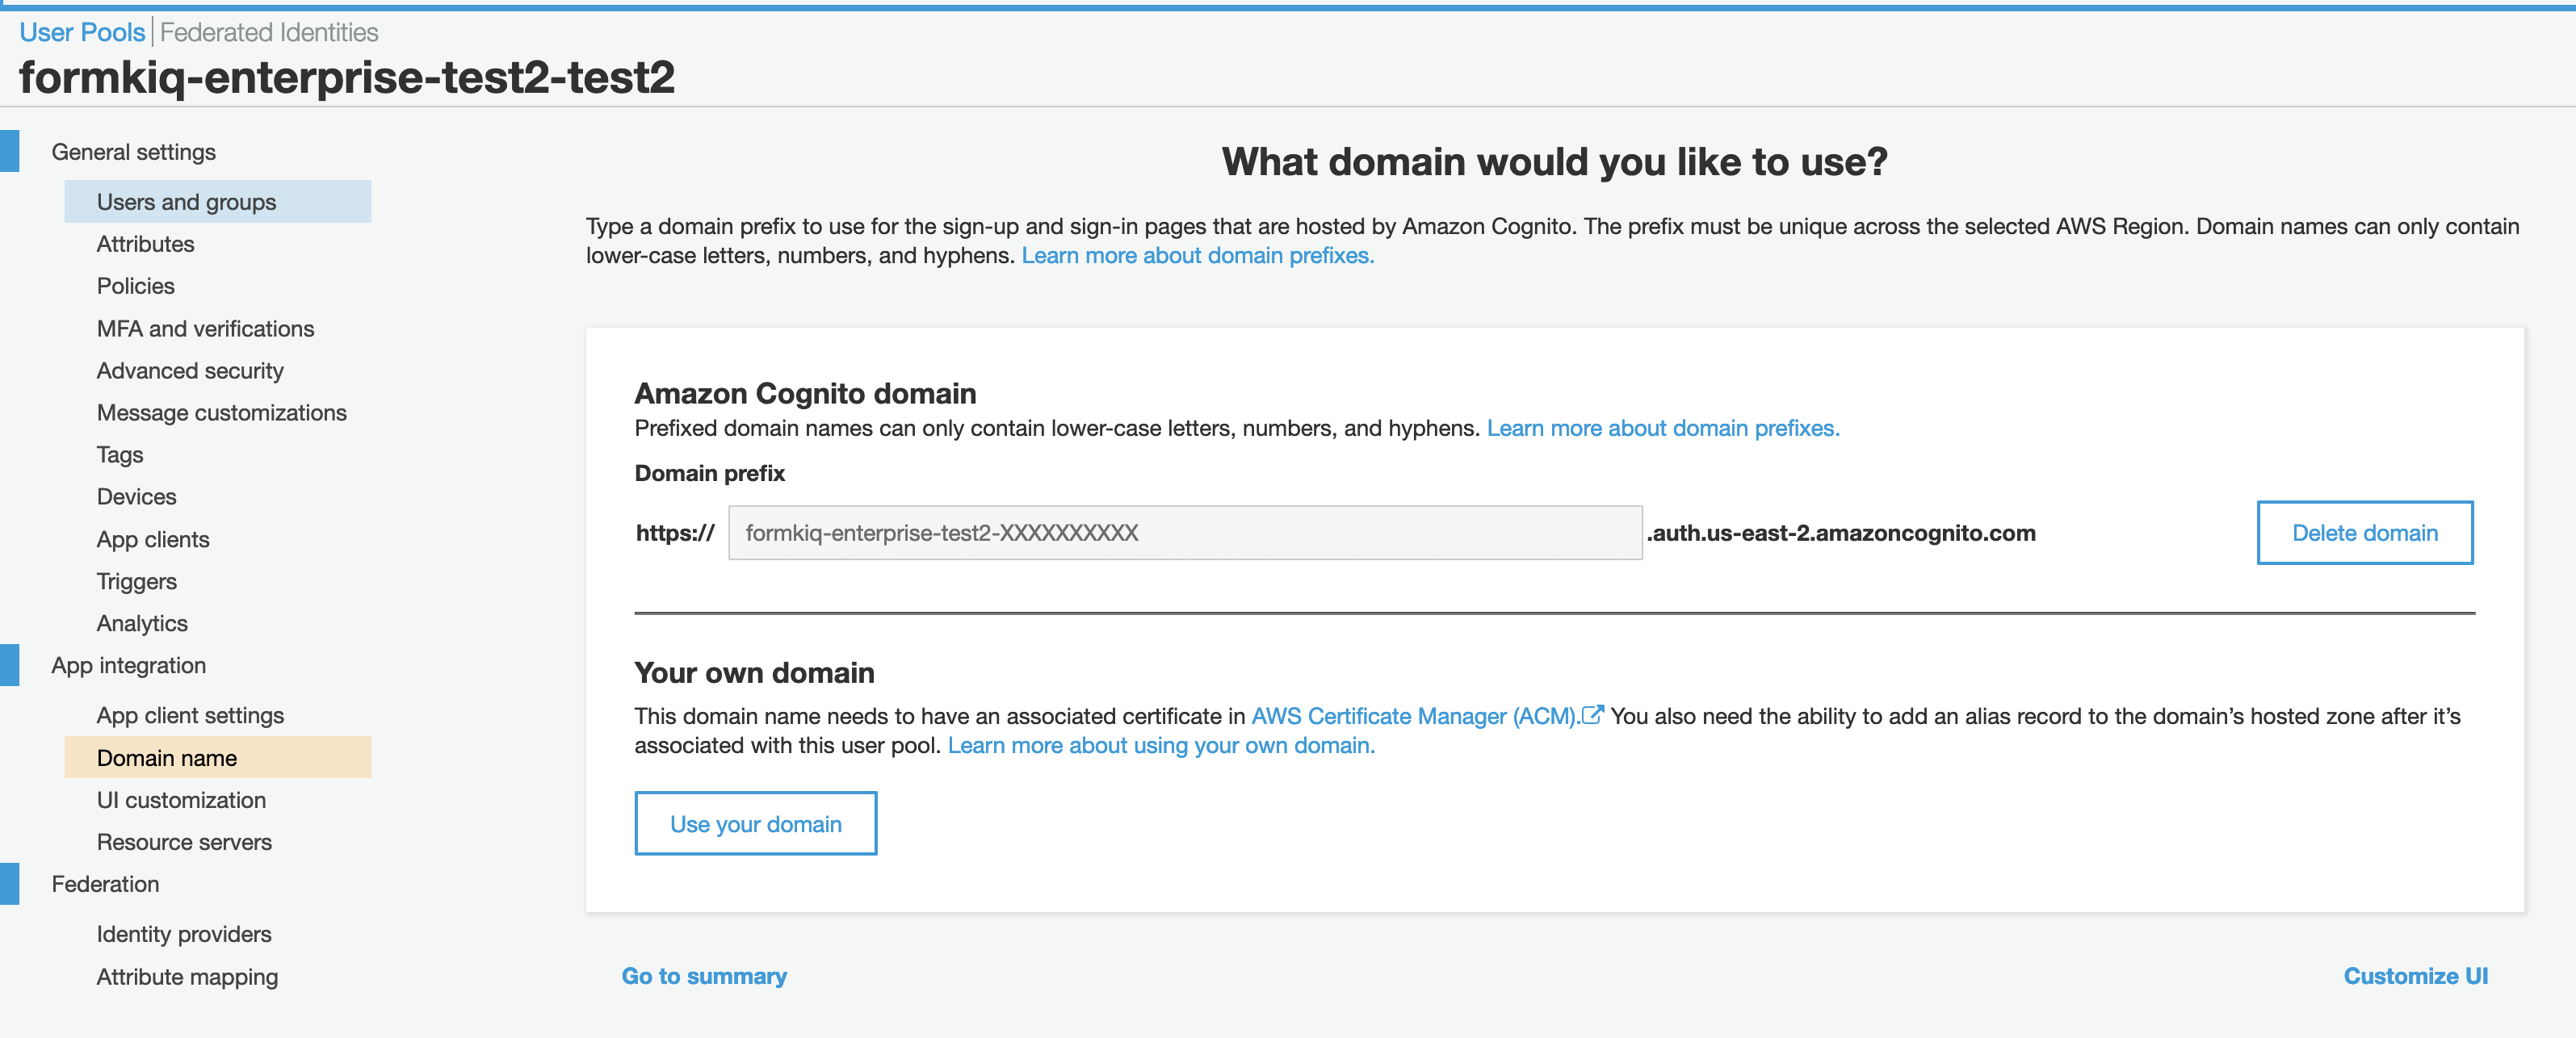
Get Cognito Domain
- Go to App Integration >> Domain Name
- Note the domain name
2. Configure AD FS
note
Requirements:
- AD FS servers need https access to amazoncognito.com
- Apply changes to all servers in multi-server setups
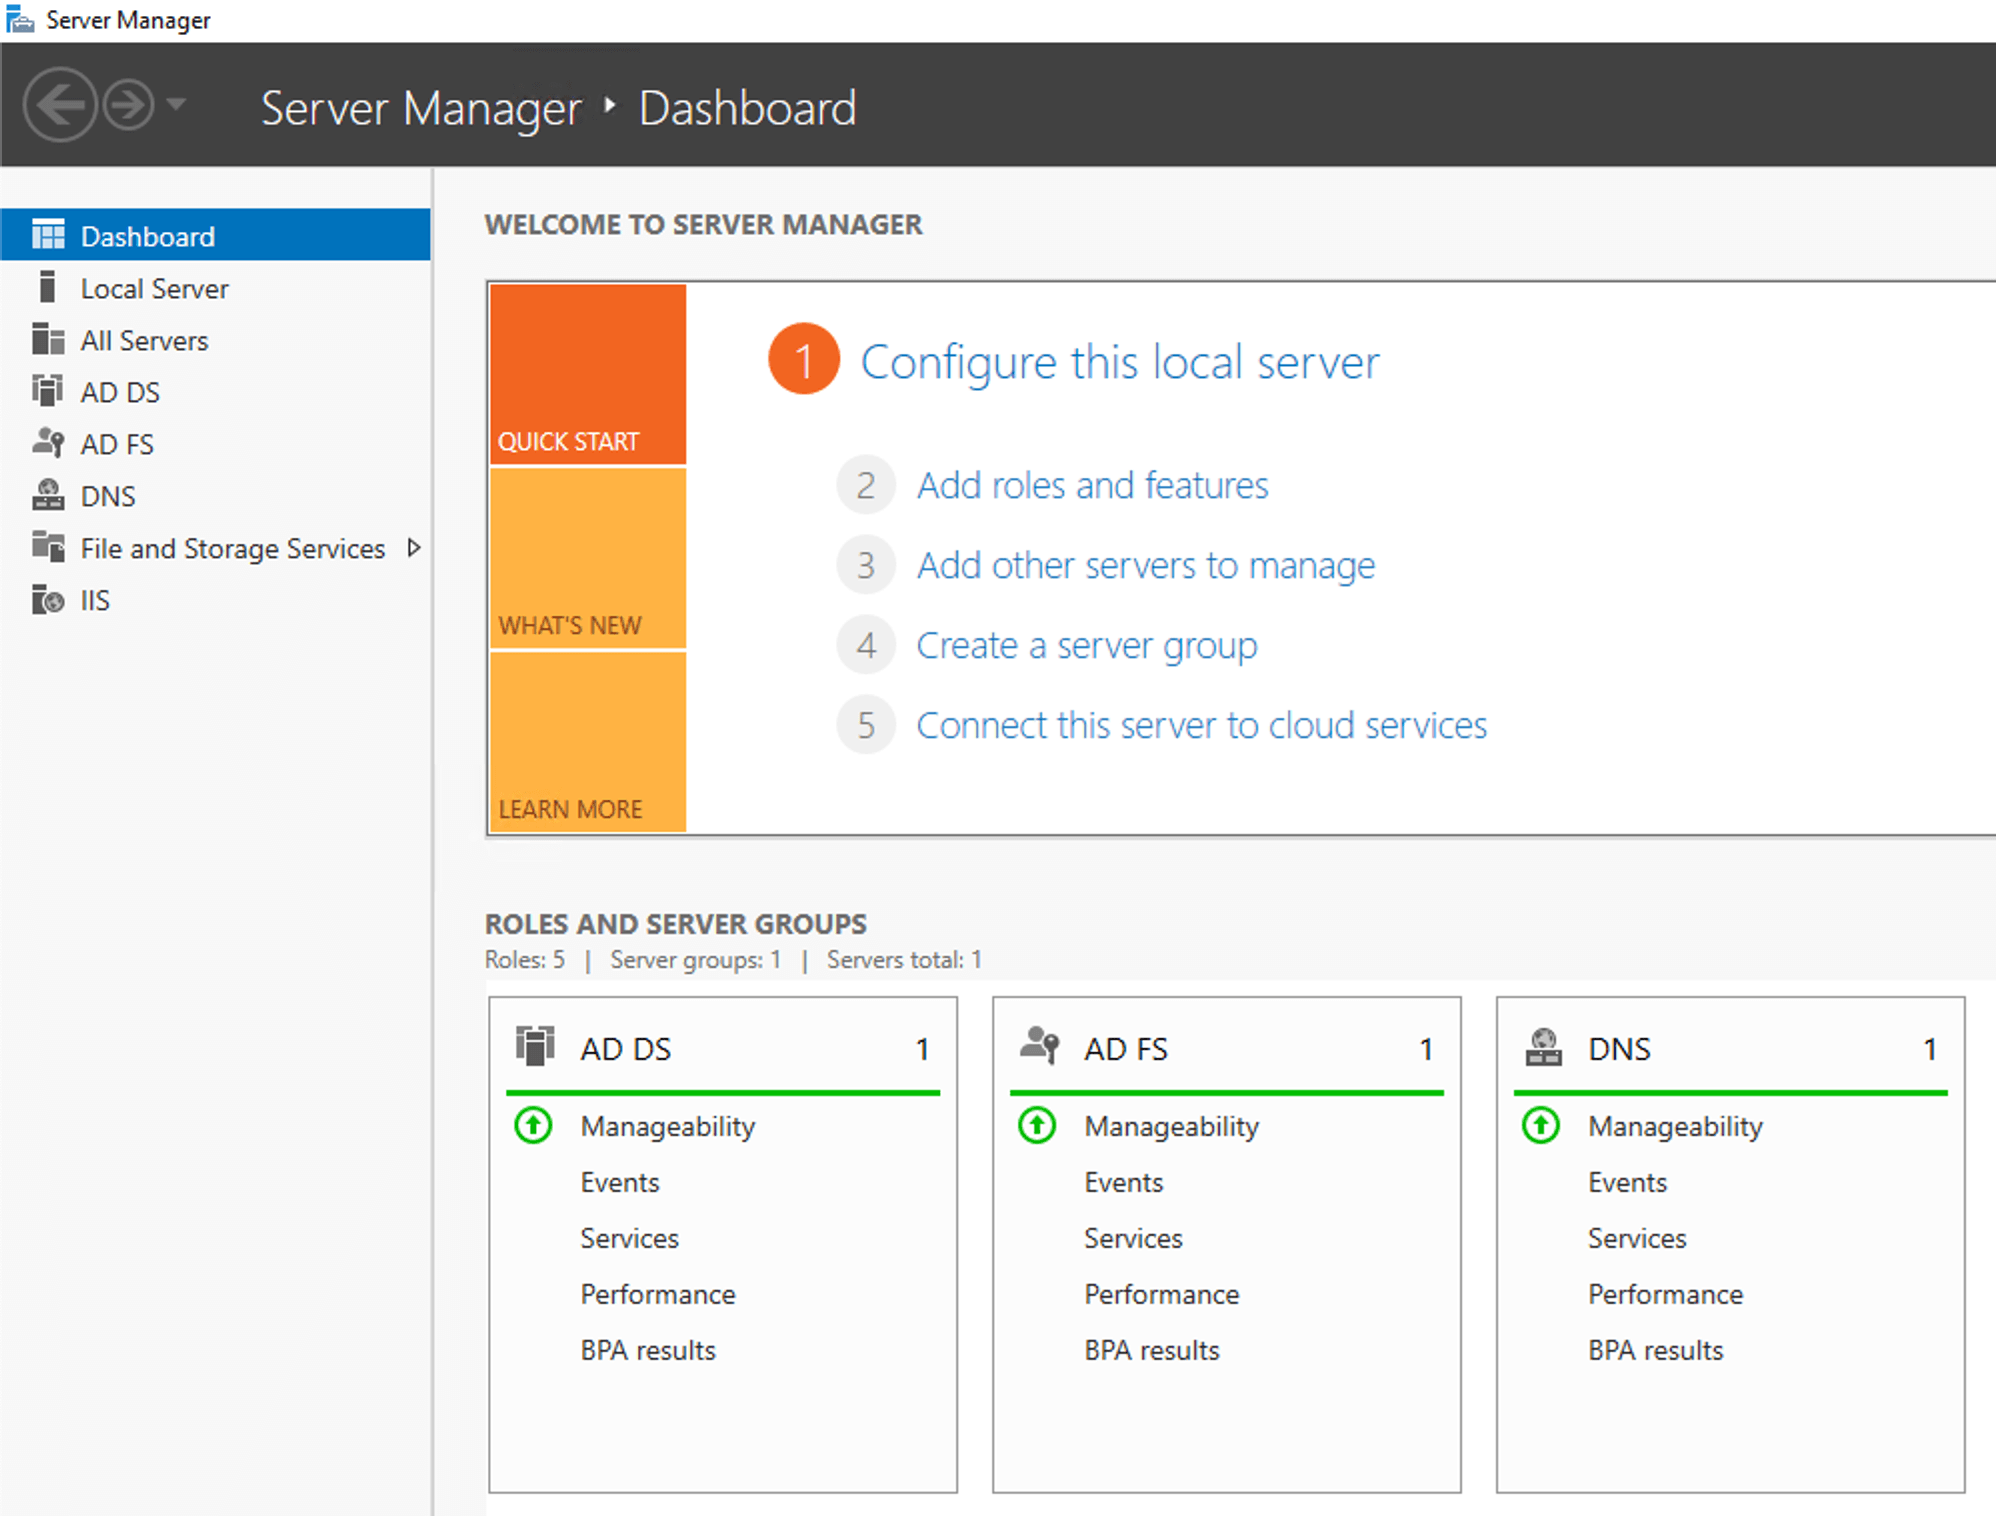
Access AD FS Management
- Open Server Manager
- Select AD FS
- Navigate to Tools > AD FS Management
Configure Relying Party Trust
- Select "Relying Party Trusts"
- Choose "Add Relying Party Trust Wizard"
- Select "Claims aware" option
- Choose "Enter data about the relying party manually"
- Enter display name (e.g., "FormKiQ ADFS Login")
- Configure SAML 2.0 WebSSO protocol URL using your Cognito domain
- Set relying party trust identifier:
urn:amazon:cognito:sp:<yourUserPoolID>
Configure Claim Rules
- Select your Relying Party Trust
- Edit Claim Issuance Policy
- Add rules for:
- Windows account name
- Email address
3. Test Integration
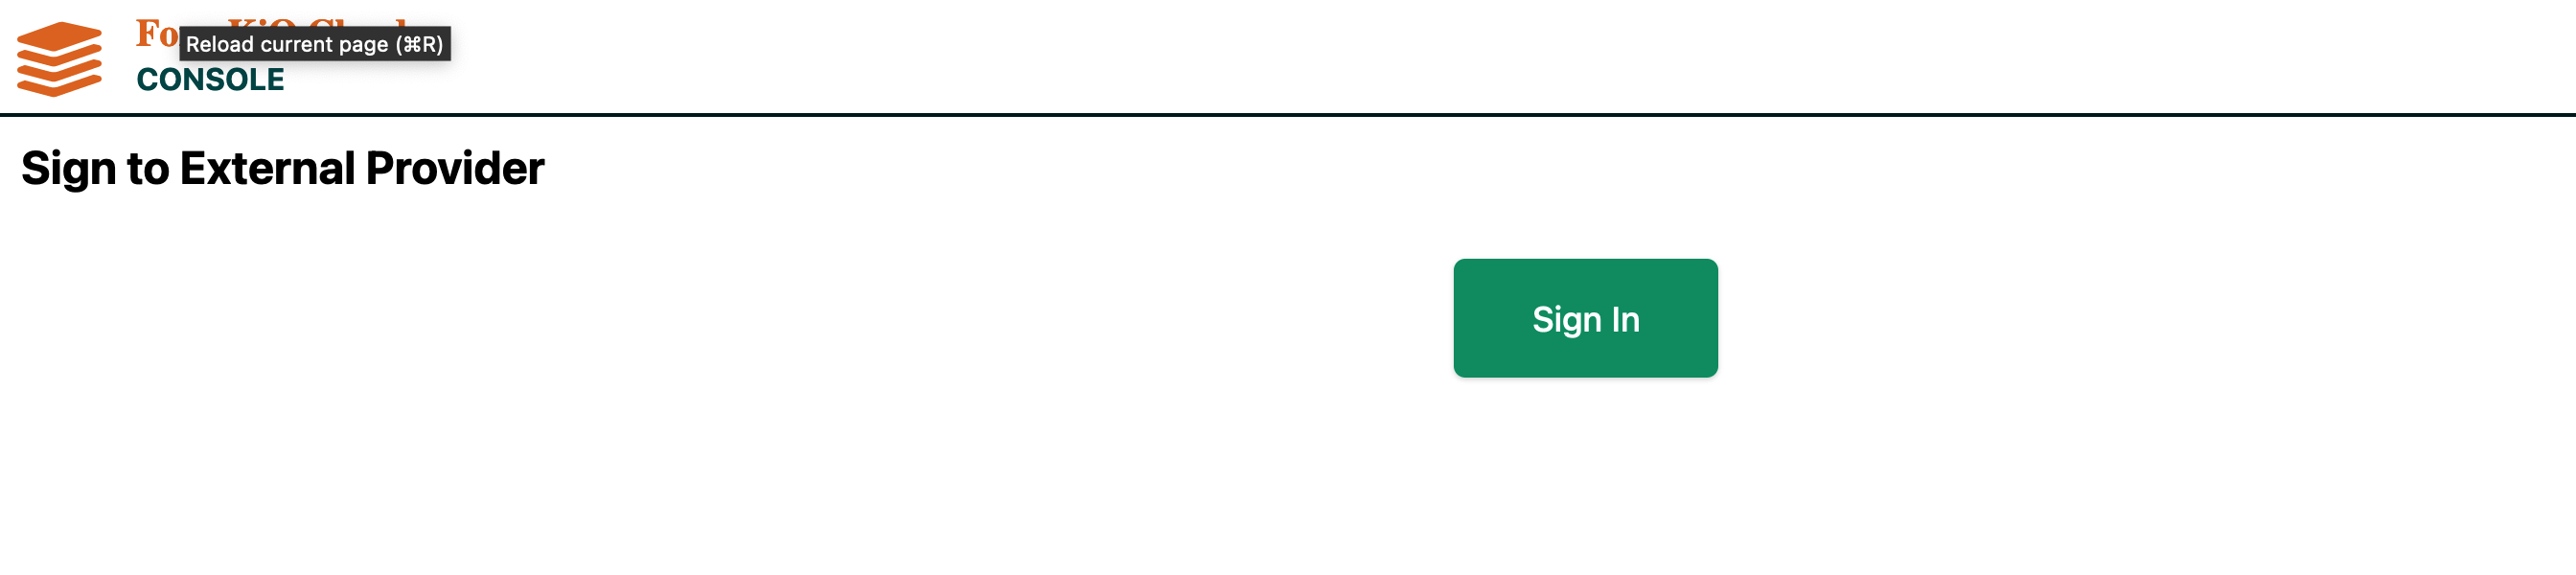
- Access FormKiQ Console
- Select external provider login
- Choose Corporate ID
- Sign in with AD credentials
User Access Configuration
Group Management
- All user groups must be prefixed with
formkiq_ - Minimum requirement:
formkiq_defaultgroup for default siteId access - Groups determine read/write permissions
OpenSearch/Kibana SAML Authentication
Configuration Steps
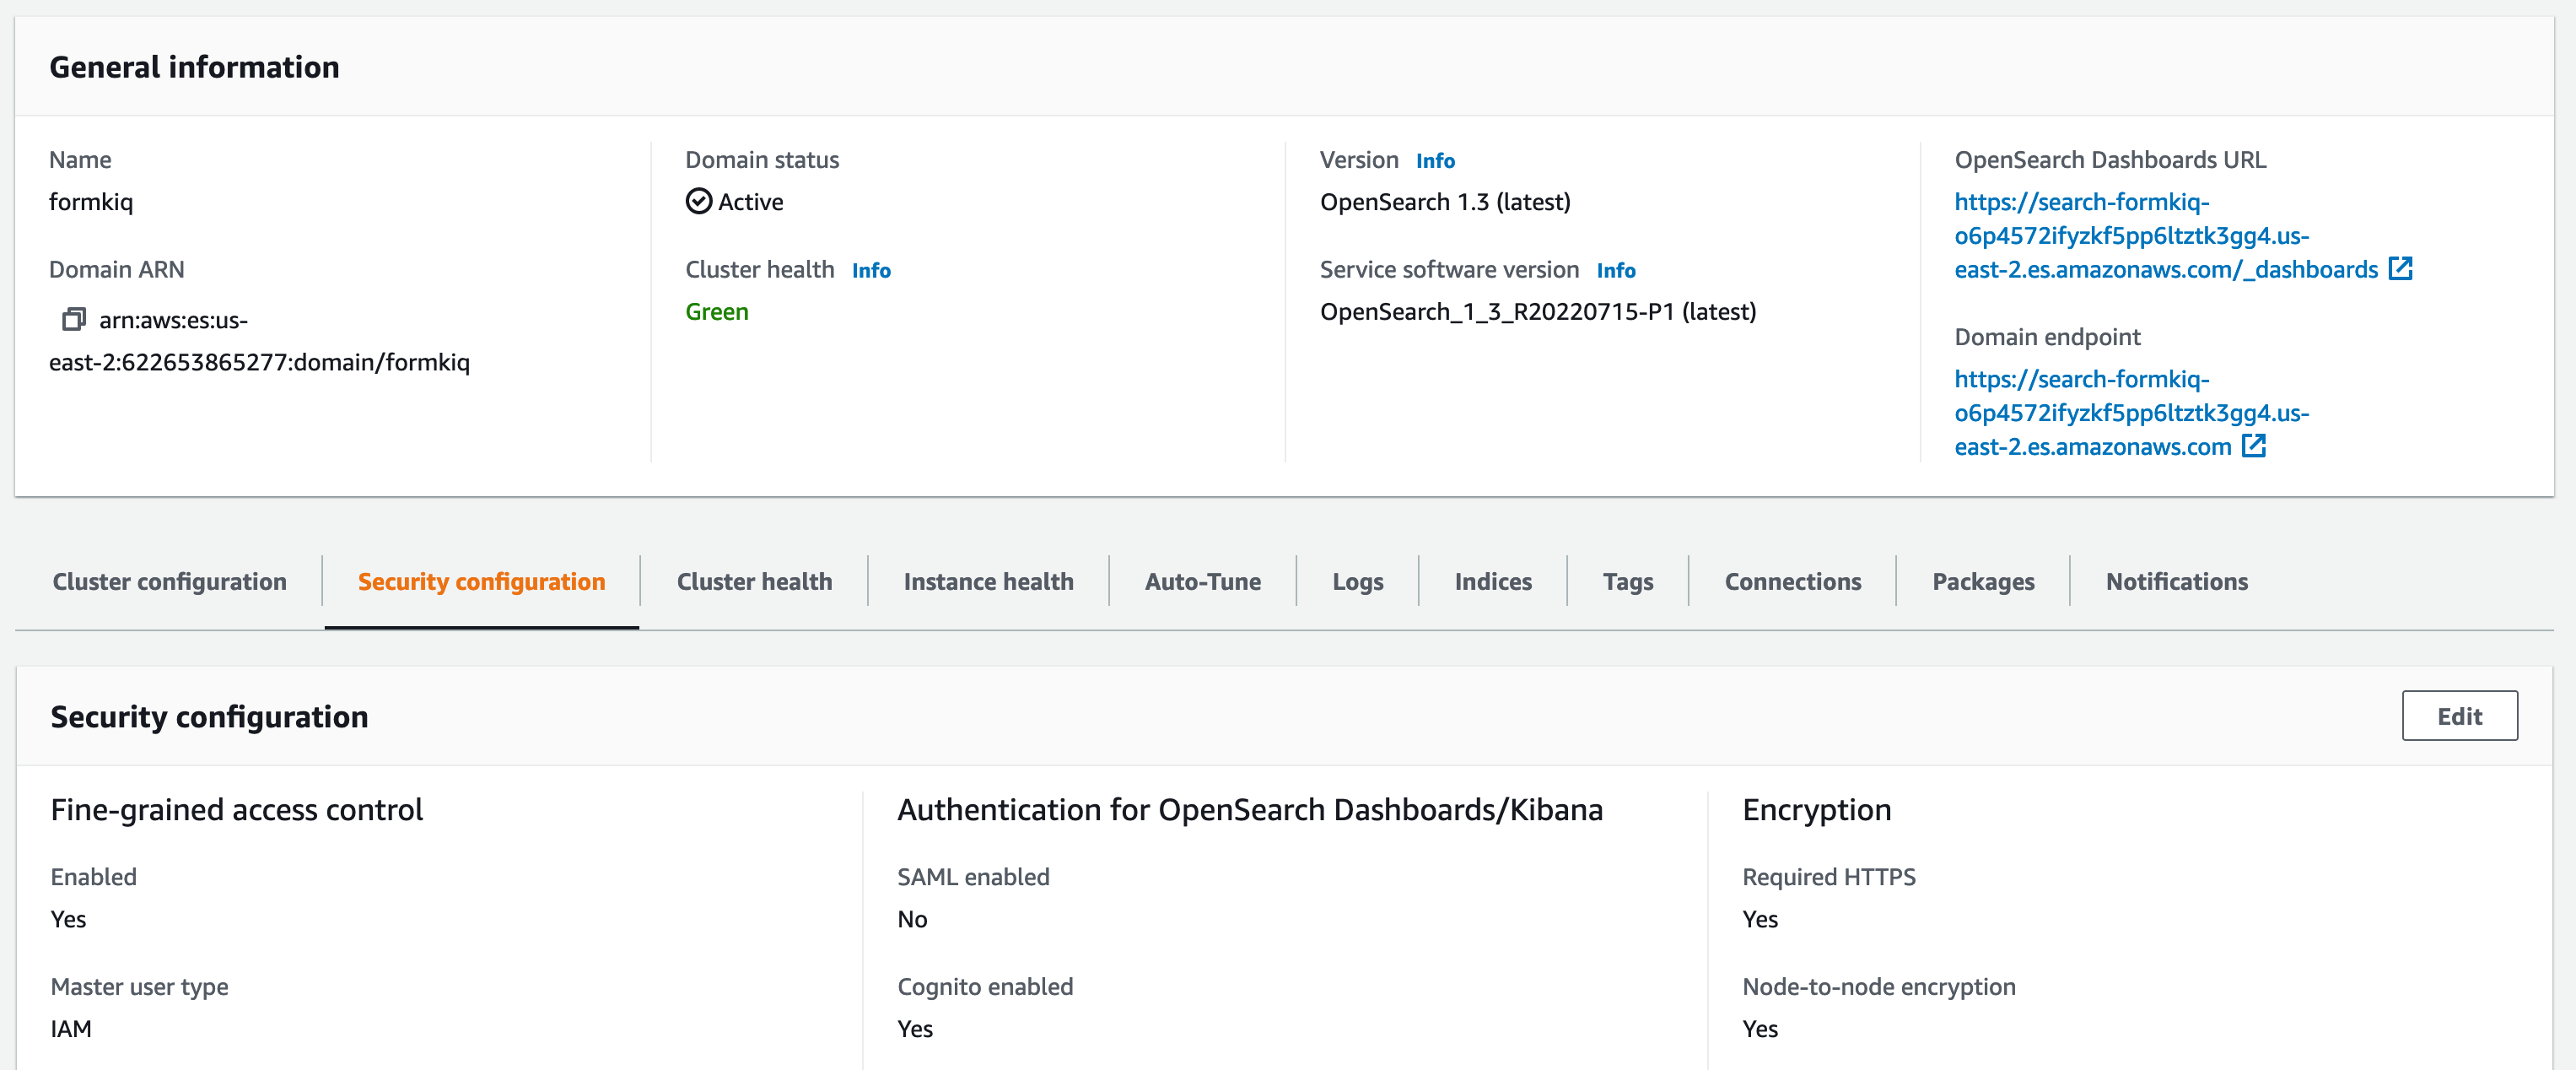
- Access OpenSearch Console
- Select domain for authentication changes
- Navigate to Security Configuration
- Disable Cognito Authentication
- Enable SAML Authentication
SAML Setup
After enabling SAML, note the following URLs:
- Service provider entity ID
- IdP-initiated SSO URL
- SP-initiated SSO URL
Configuration Options
- Use IdP-initiated SSO URL for IdP directory authentication
- Use SP-initiated SSO URL for OpenSearch Dashboards authentication
For detailed configuration instructions, see OpenSearch SAML Documentation.
Best Practices
-
Security
- Regularly review authentication settings
- Monitor access patterns
- Maintain updated IdP configurations
-
User Management
- Use descriptive group names
- Document access policies
- Regular access reviews
-
Integration
- Test authentication flows
- Monitor SSO sessions
- Configure timeouts appropriately