OpenSearch SSH Tunnel
What You Will Build
OpenSearch is secured by deploying it within a private subnet of a Virtual Private Cloud (VPC), ensuring limited access and heightened security measures. This setup restricts external access to OpenSearch.
Access to OpenSearch running in a private subnet can be achieved through several methods:
-
VPN (Virtual Private Network): Establish a VPN connection between your local network and the VPC where OpenSearch is hosted, allowing secure access to the resources within the private subnet.
-
AWS Client VPN: Deploy AWS Client VPN to provide secure remote access to resources in the VPC, including OpenSearch instances within the private subnet, from authorized client devices.
-
SSH Tunneling using a Bastion Host: Set up a bastion host in a public subnet with SSH access allowed from specific IP addresses. Then, set up SSH tunneling to forward traffic from a local port to the OpenSearch instance within the private subnet, allowing secure access over SSH.
Each of these options offers varying levels of security, flexibility, and ease of implementation depending on your specific requirements and infrastructure setup. This tutorial walks through SSH tunneling using a bastion host.
Before You Begin
- Access to a FormKiQ PRO / Enterprise installation with OpenSearch, i.e., the Enhanced Fulltext Search Module
- Permission to create an EC2 key pair and CloudFormation stack.
- Network access to SSH into the bastion host.
Workflow Overview
- Find the OpenSearch Dashboards URL.
- Create or select an EC2 key pair.
- Deploy the bastion host CloudFormation stack.
- Configure a browser SOCKS proxy.
- Start the SSH tunnel.
- Open OpenSearch Dashboards through the proxy.
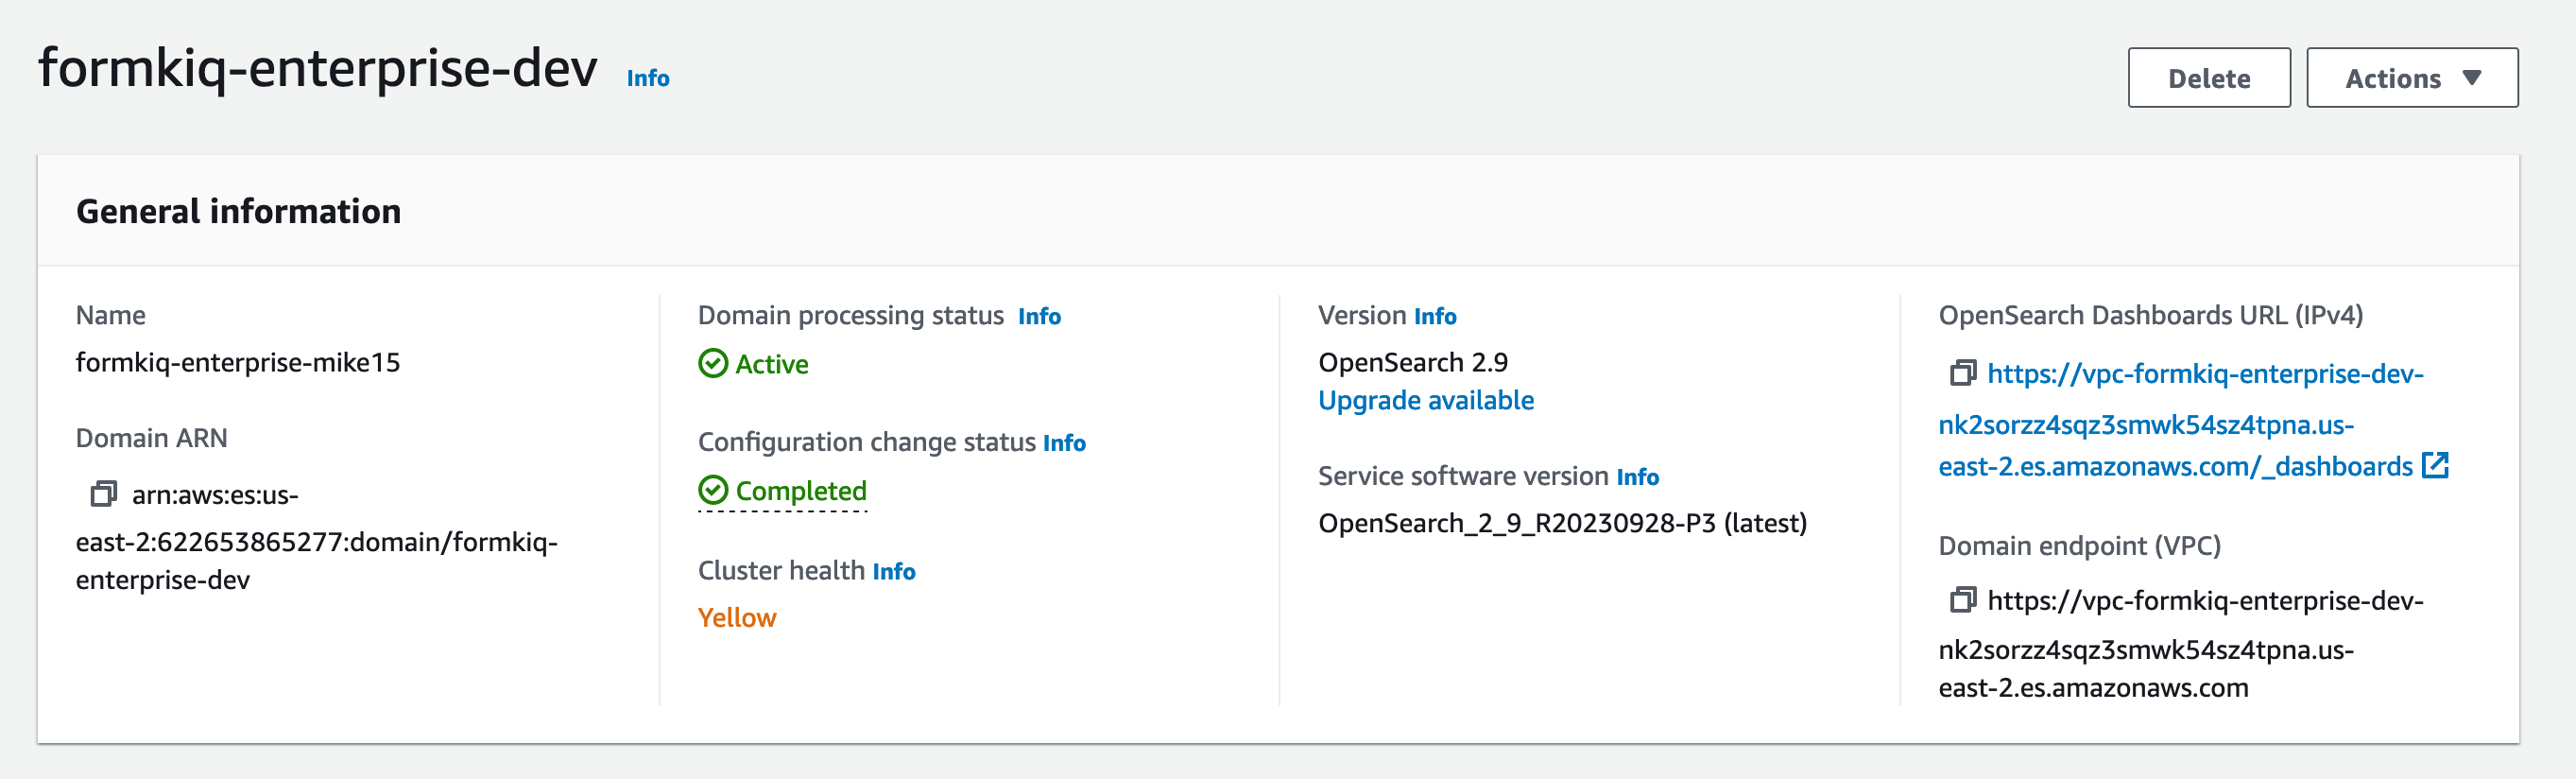
Step 1: Find the OpenSearch Dashboard URL
Visiting the Amazon OpenSearch console will allow you to get the internal DNS name of your OpenSearch Dashboards URL.
Step 2: Create an AWS Key Pair
An AWS Access Key Pair will be required to get access to the bastion host. To create an AWS key pair:
-
Visit the EC2 Dashboard Console
-
In the EC2 Dashboard, locate the "Network & Security" section in the left-hand navigation pane and click on "Key Pairs."
-
On the Key Pairs page, click on the "Create Key Pair" button located at the top of the screen.
-
In the "Create Key Pair" dialog box:
- Enter a name for your key pair in the "Key pair name" field.
- Select the desired key pair type. It's recommended to choose "RSA" as the key pair type.
- Optionally, you can specify a tag for your key pair by clicking on the "Add tag" button and entering a key-value pair.
-
After entering the key pair details, click on the "Create key pair" button. This action will generate a new key pair and automatically download the private key file to your local machine. Ensure you keep this private key file secure, as it provides access to your EC2 instances.
-
Once the private key file is downloaded, ensure you keep it in a secure location on your local machine. Avoid sharing this private key file with unauthorized individuals and do not expose it publicly.
-
Set appropriate permissions for the private key file to enhance security. On Unix-based systems, you can use the following command:
chmod 400 /path/to/private-key-file.pem -
Once the key pair is successfully created, you'll see a confirmation message on the EC2 Dashboard indicating that the key pair has been created and downloaded.
You've now successfully created an AWS key pair, which can be used to securely access EC2 instances launched within your AWS account. Make sure to keep the private key file safe and use it responsibly for accessing your instances.
Step 3: Set Up the Bastion Host
To install the Bastion host, select the installation link for the AWS region you want to deploy the Bastion Host to (it must be the same AWS Region has your FormKiQ installation):
CloudFormation Links
CloudFormation Parameters

- KeyPairName
Select from the dropdown the Key Pair created in the previous step.
- LatestAmiId
The EC2 AMI image that will be used to create the Bastion host
- VpcStackName
The name of the VPC CloudFormation stack used by FormKiQ
- VpcSubnets
The Bastion host needs to be deployed in the public FormKiQ VPC. Searching for the term "Public" and select one of the public subnets.
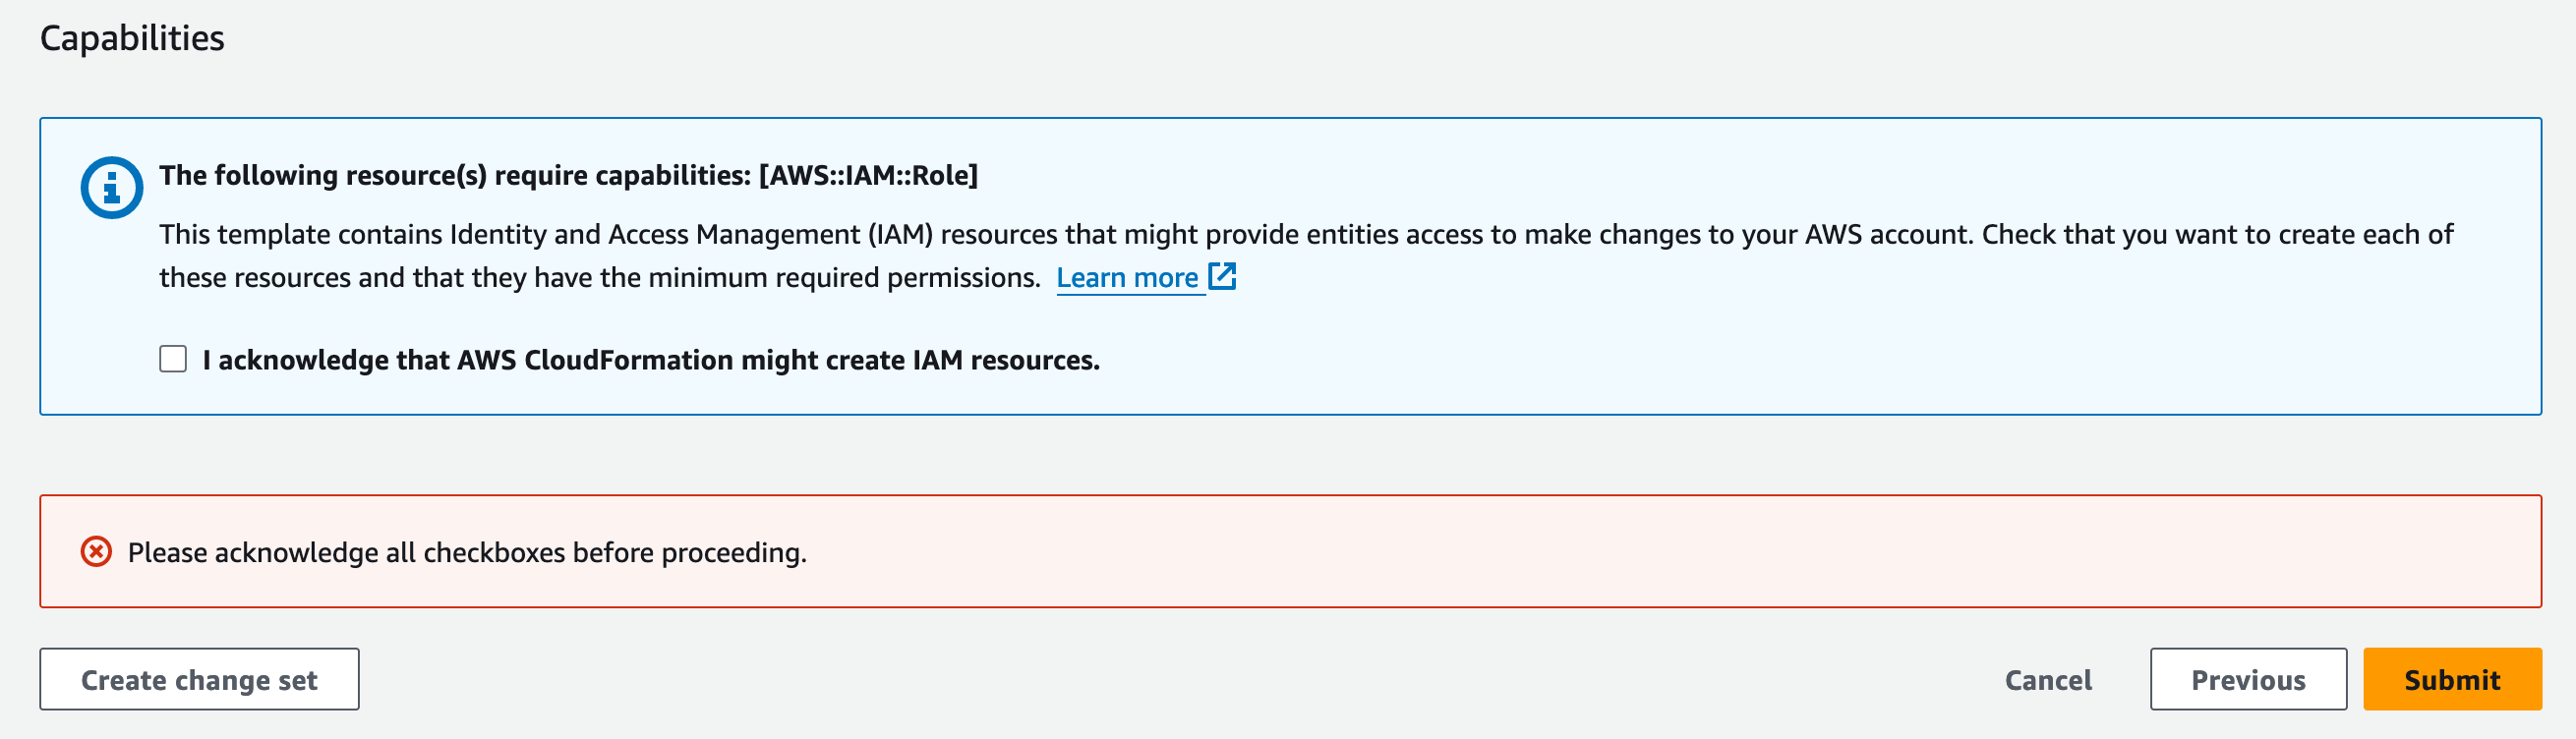
Click "Next" twice and then submit the stack to be created.
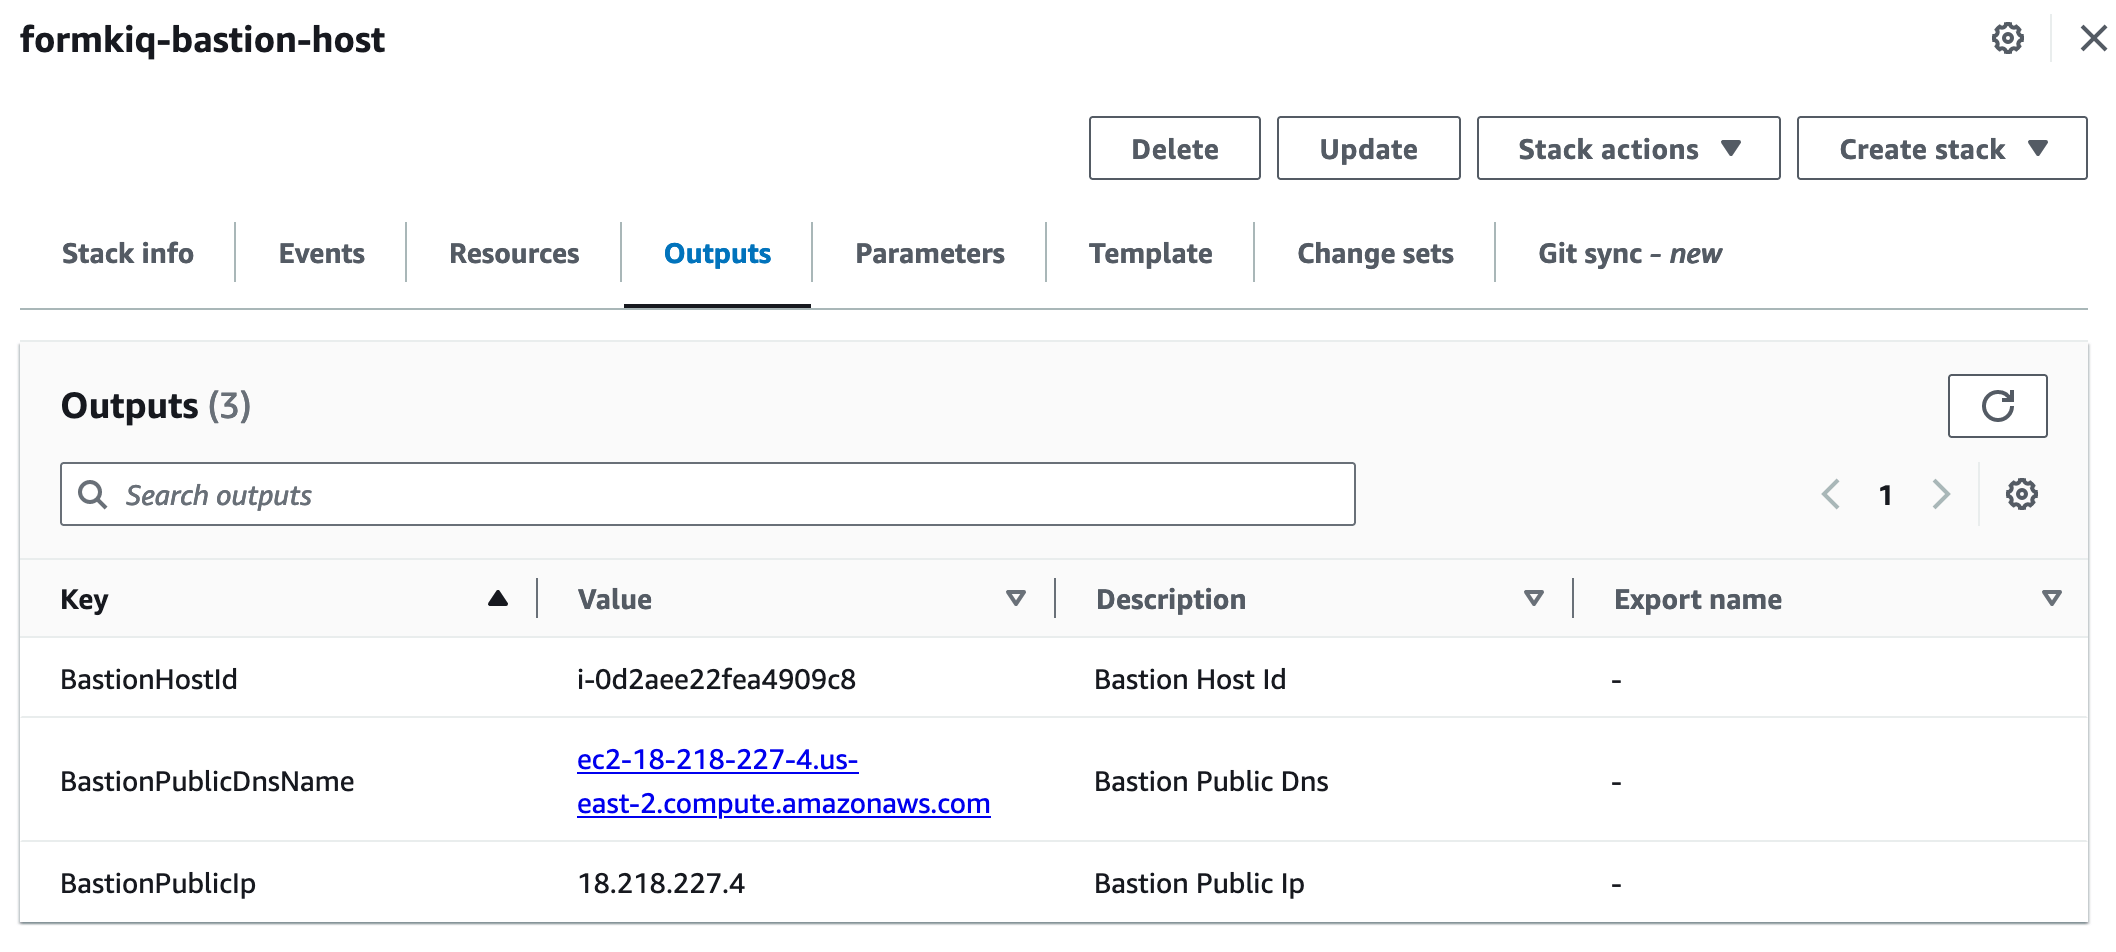
The CloudFormation outputs will contain information to configure the SSH Tunnel.
Step 4: Configure the SOCKS Proxy
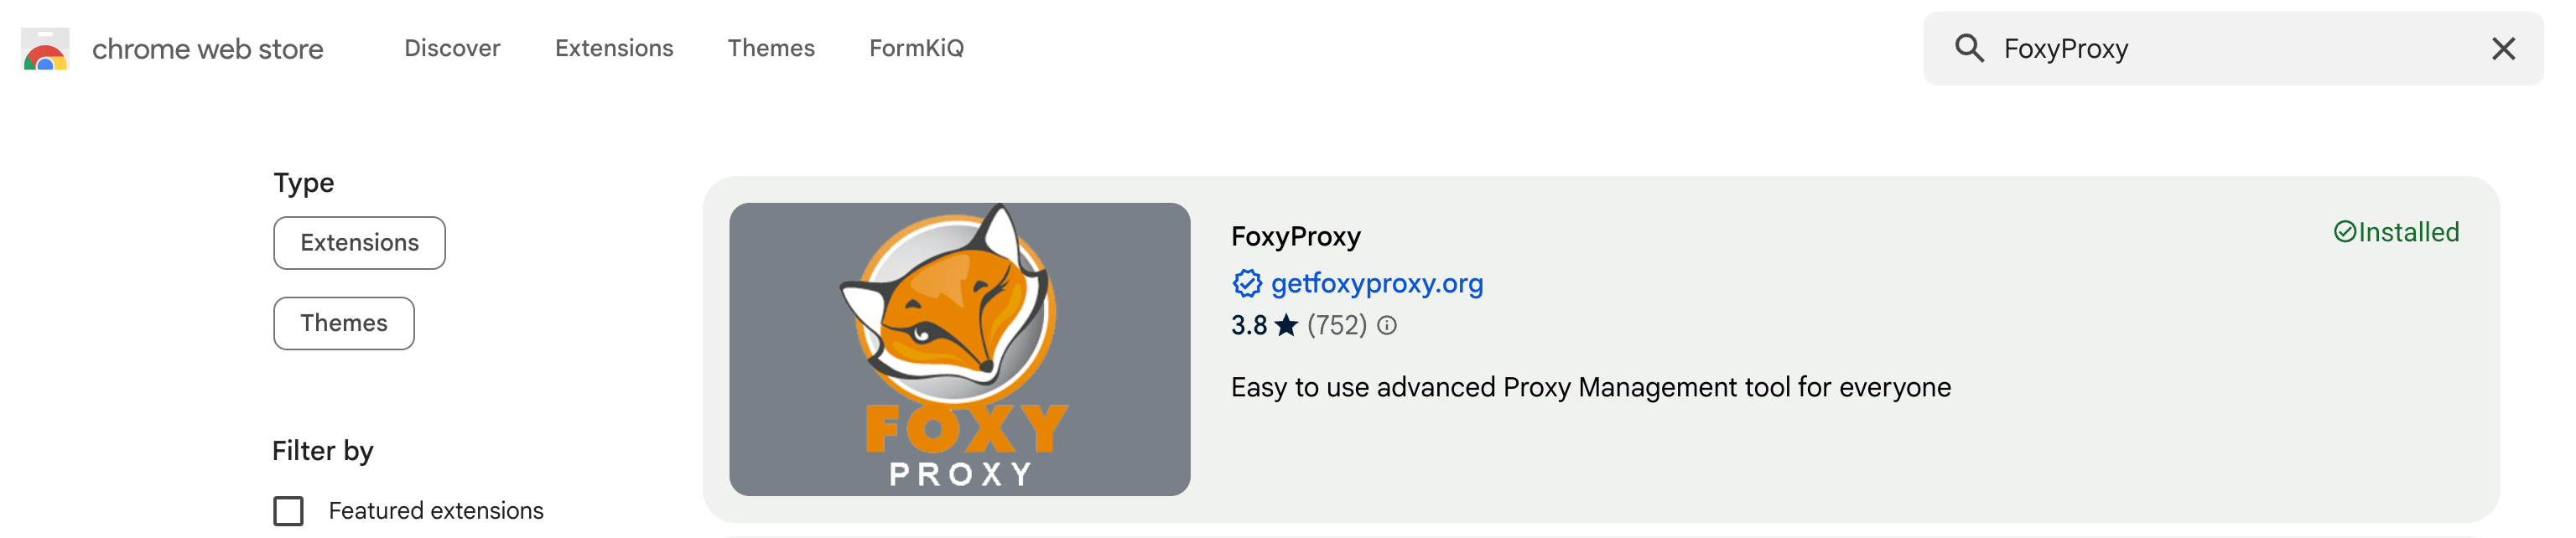
FoxyProxy can be used to proxy requests through the SSL tunnel and to the OpenSearch dashboard.
The FoxyProxy Standard extension can be installed from the Google Chrome store.
Next, we need to configure the FoxyProxy extension. Open the FoxyProxy extension and then choose Options.

Under the Proxies:
-
Set the title: e.g. VPC Endpoint
-
Set Type: "SOCKS5"
-
Set Hostname: localhost
-
Set Port: 8157
-
Pattern:
OpenSearch Domain endpoint
Step 5: Run the SSH Tunnel
The following command will start the SSH tunnel.
ssh -i "mykeypair.pem" ec2-user@public_dns_name -ND 8157
Now, enter the Dashboards endpoint in your browser. The Amazon Cognito login page for Dashboards should appear.
Verify the Result
Open the OpenSearch Dashboards URL in your browser while the SSH tunnel and proxy are active. Confirm that the Cognito login page loads and that you can sign in.
Clean Up
Stop the SSH command with Ctrl+C when you are finished. Delete the bastion host CloudFormation stack if it was only needed temporarily.
Troubleshooting
| Problem | Likely cause | What to check |
|---|---|---|
| SSH connection fails | Key pair, security group, or public DNS is incorrect. | Confirm the private key permissions, bastion public DNS, and inbound SSH rules. |
| Browser cannot load Dashboards | Proxy is not enabled or pattern does not match the endpoint. | Confirm FoxyProxy is using SOCKS5 on localhost:8157. |
| Cognito login appears but access fails | User lacks OpenSearch/Cognito permissions. | Confirm OpenSearch access groups and Cognito user membership. |